“The smell of good bread baking, like the sound of lightly flowing water, is indescribable in its evocation of innocence and delight.”
~M.F.K. Fischer
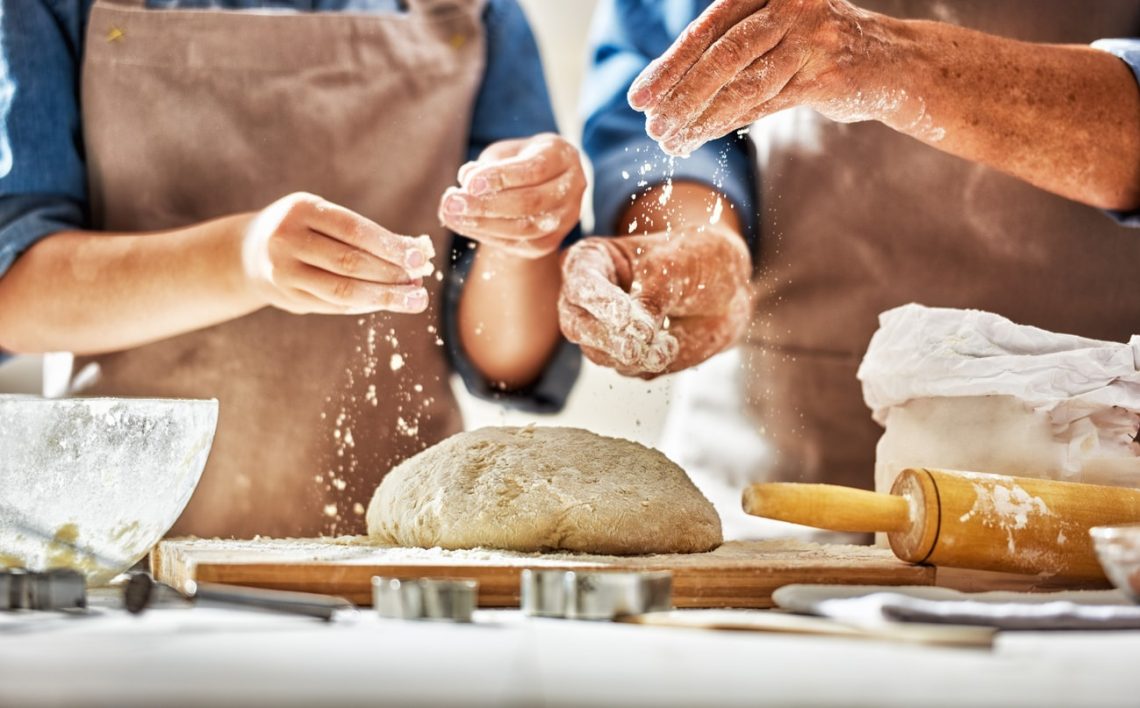
Bread is indeed an everyday miracle. Grain is transformed into flour. Flour is added to water, salt, and yeast. This mixture produces living dough that rises, doubling in size, before it is baked. The result is a beautiful loaf of bread that comes from the oven audibly talking in a language of crackles and hisses.
Yet, baking bread is more than an exercise in the sensual. It can also be a part of a spiritual practice, as well as a metaphor for the path that leads to authenticity. Careful movements, patience, and a willingness to trust in your own judgment are all as much a necessary part of the baking process as the recipe itself.

Given all of this, the spiritual and the sensual, there is absolutely no way that I can refrain from sharing one of my very favorite bread recipes with you! I love this recipe because it is essentially “hands off”. There is no kneading involved at all. All you do is mix the four ingredients and let the dough rise. It’s always my “go-to” recipe midweek or whenever time is too short for baking a traditional rise and knead bread.
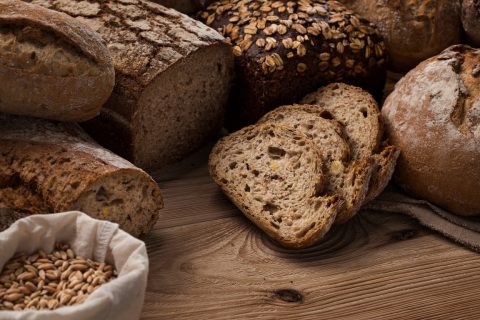
Better yet, the recipe produces approximately four beautiful, crusty, and delicious loaves of bread, perfect for a dinner party or a larger gathering. Don’t need that much bread? It’s not a problem. The dough that you don’t use is designed to be kept in your refrigerator for up to two weeks. In fact, the longer the dough is kept in the fridge, the more it will develop tangy sourdough-like qualities. It’s so easy and so good, you have to try it to believe it.
5 Minute, No-Knead, Artisan Bread
Ingredients
- 3 cups (1 ½ pounds) lukewarm water. (You really don’t have to get too particular about the exact water temperature here. This recipe calls for a long rise time, so cold water will only lengthen that time. You just want to avoid hot water since it may kill the yeast.)
- 1 ½ tablespoons granulated yeast
- 1 ½ tablespoons kosher salt
- 6 ½ cups (2 pounds) all-purpose flour
Mixing the Dough
In a large bowl, add the water, yeast, and salt. Add the flour. Stir until all of the flour is incorporated in the dough. Don’t over-stir. The dough should be wet and irregular.
Cover the bowl, but do not completely seal it. You need to leave a slight opening to allow gases to escape.
 Let the covered dough sit in a warm place. (Where this will be depends on your home and the climate you live in. I find that placing the bowl in the oven, with the oven off and the oven light on, provides just the right temperature stability that the dough needs to rise.)
Let the dough rise at least two hours or until it has more than doubled in size. (In my experience, the longer you let the dough rise, the better the result. I usually let it rise for at least four hours and sometimes as much as eight. You can use the dough after a two-hour rise, it will just be sticky and difficult to handle. It’s much easier to work after it rests in the refrigerator overnight.)
After the dough has risen, do NOT punch it down. Let it settle by itself. The surface of the finished dough will be bumpy and pocked with popped bubbles of gas.
Place the bowl containing the dough in the refrigerator overnight.
Baking the Bread
Take the chilled dough from the refrigerator. (You’ll notice that the dough has fallen and shrunk in size. That’s normal. The yeast is still active, just dormant.)
Dust your hands with flour, scoop out approximately one quarter of the dough, and snip it off with shears. The dough will be stretchy.
Place the dough on a floured surface and dust the top with flour.
 Using your opened hands, gently stretch the top of the dough down the sides and tuck it underneath. Quickly rotate the dough one quarter turn and repeat the stretching and tucking process. Continue rotating until the top of the dough is taut, approximately two full rotations or eight quarter rotations.
Take the resulting boulé and place it on a floured piece of parchment paper.
Let the boulé rise for at least 40 minutes. (A 60- to 90-minute rise will result in a more completely developed crumb inside the loaf. In addition, the boulé may not rise at all. In fact, it may actually flatten. This is normal with this dough and is to be expected.)
Get more joy, meaning and authenticity straight to your inbox.
Baking the Bread
While the bread is rising, preheat your oven to 450 degrees F.
When the bread is done rising, slash the top of the boulé with a sharp, serrated knife.
Place the boulé on the parchment paper in a bread cloche and bake covered for 35 minutes. Remove the cloche top and continue baking for an additional 10 minutes.
Alternatively, place the boulé on the parchment paper into a dutch oven or the crockery insert from a slow cooker. Bake covered (if using a crockery insert, cover tightly with aluminum foil) as above.
Remove the bread from the cloche, dutch oven, or crockery insert and allow to cool to room temperature on a wire rack.
Slice or break apart and enjoy!
How did this recipe work for you? What’s your favorite bread recipe? I can’t wait to hear from you about your own bread baking experiences!
Live Authentically-
![]()


Discussion
Leave a reply